Follow-up
Follow-up Record
- Support viewing, editing, and downloading (permission required) various data of patients before, during, and after surgery
- Storage files include various CRF form, documents, PDFs, pictures, videos, audios, etc.
- Files are managed and searched by tags, and custom tags are supported
- Follow-up records are managed uniformly by date, and files in different formats can be uploaded on the same date
- The layout of the follow-up record page is two pages, left and right, a single file preview page on the left, and a file list on the right.
New follow-up
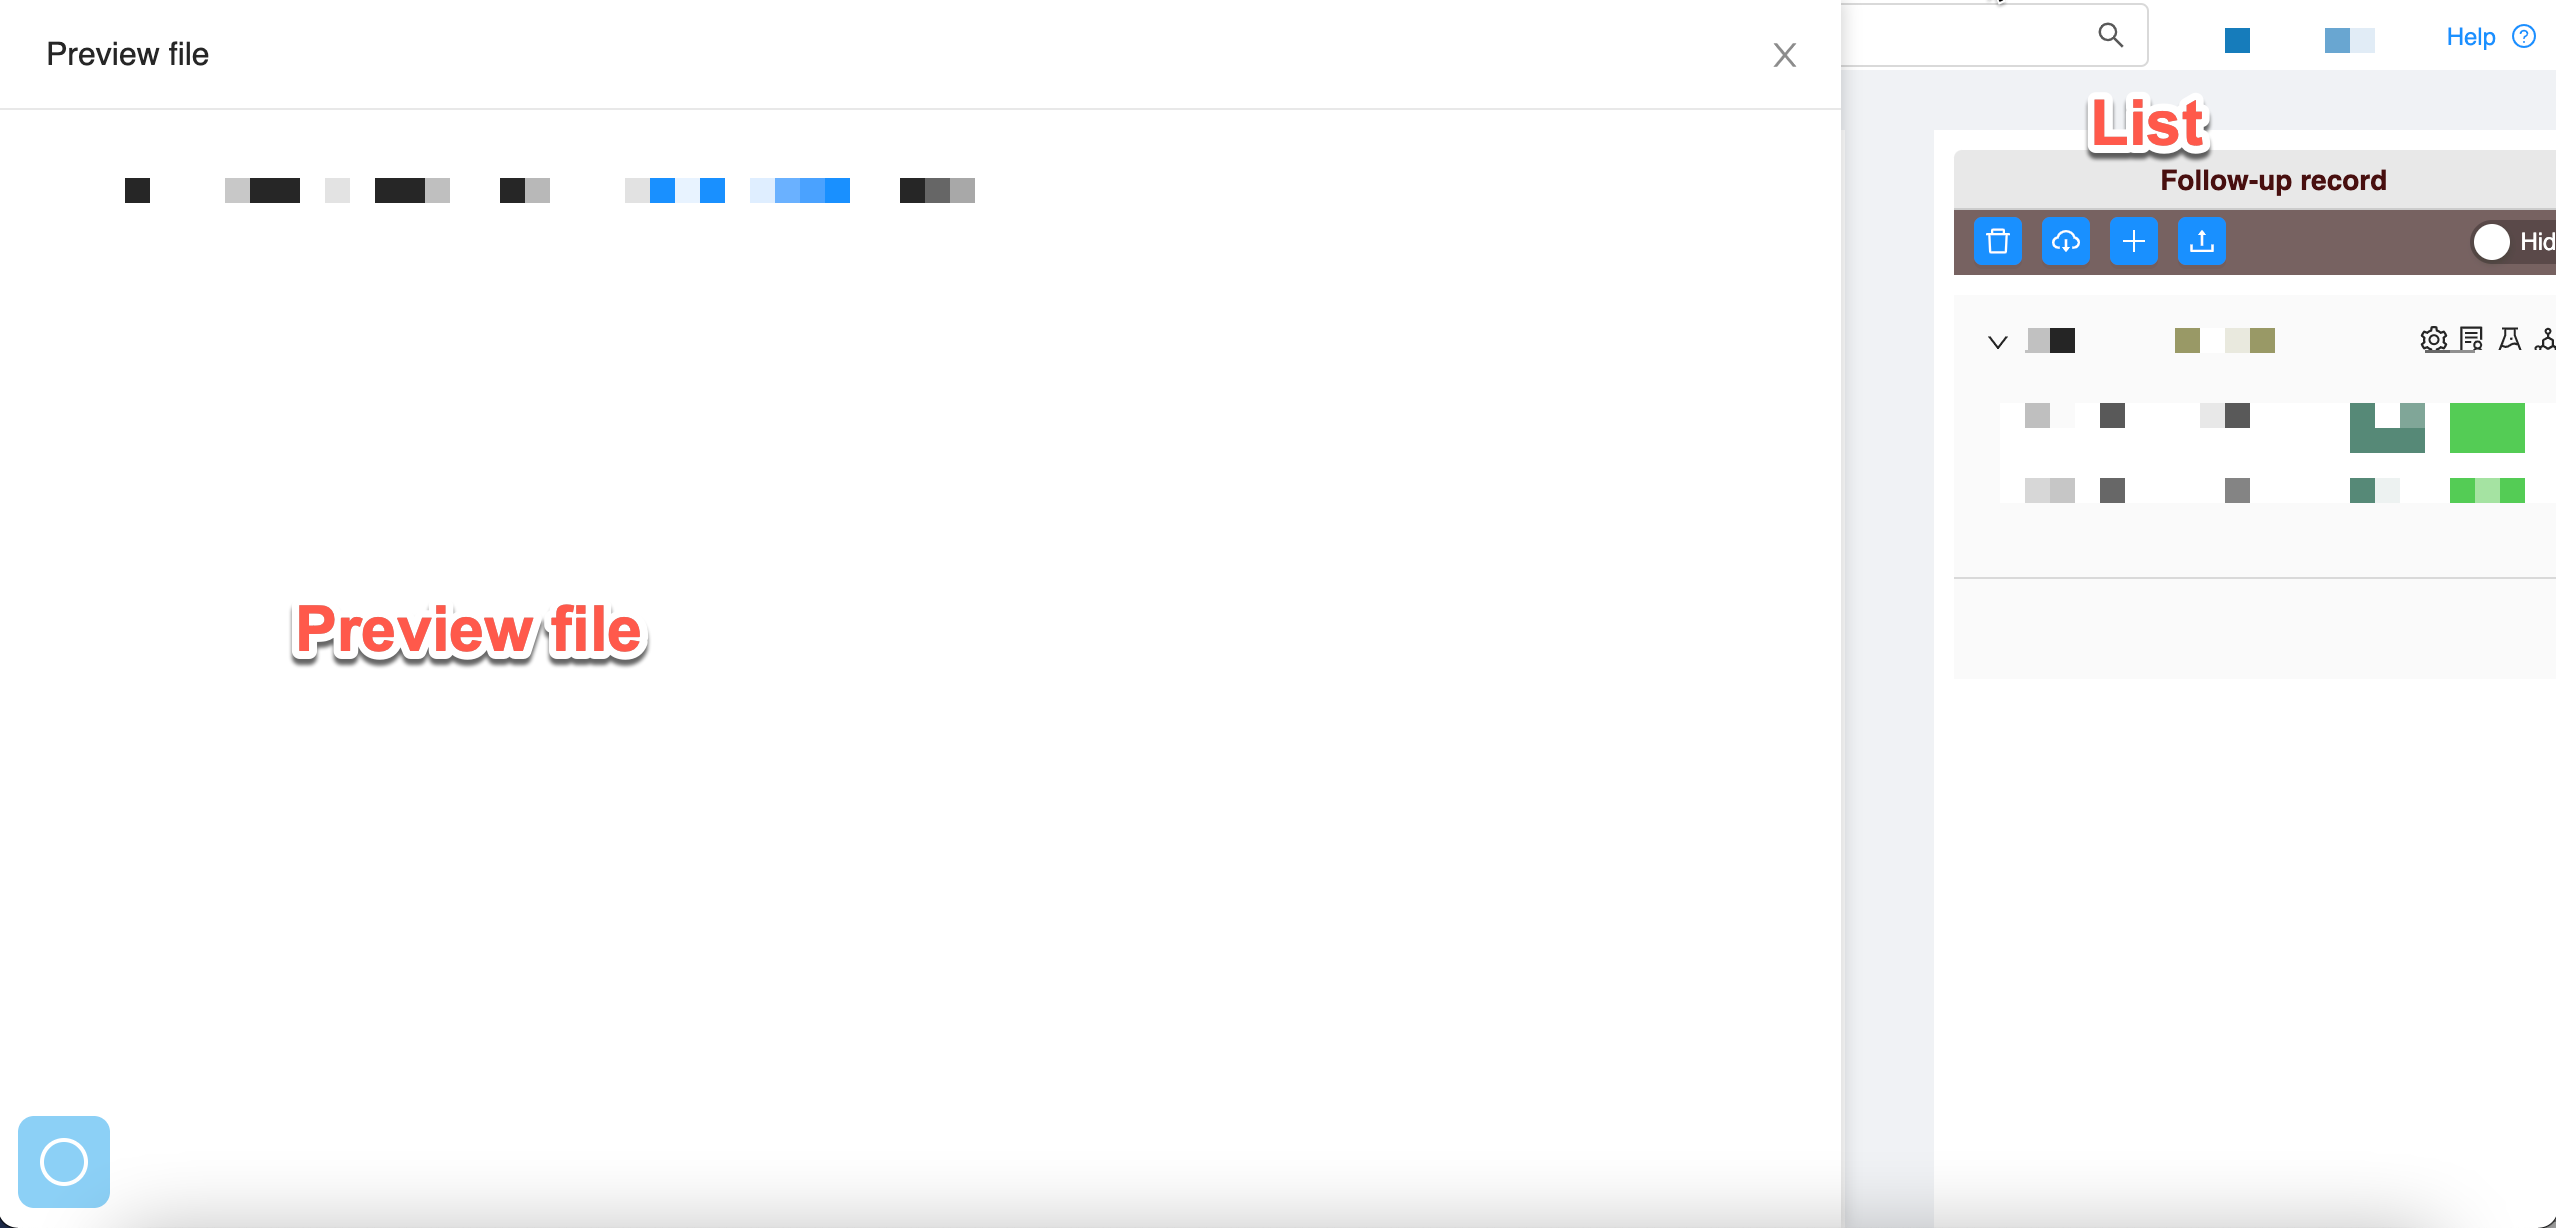
- Step 1: Click to enter the patient's personal information page (Patient → Patient database → click on the patient's name), click the "Show follow-up records" button, the interface will pop up the follow-up record list, as shown in the figure:
-en.png)
- Step 2: Click the "+" sign in the menu bar of the follow-up record list to create new follow-up record.
-en.png)
- Step 3: Fill in the form information and create a "folder" with date as unit
-en.png)
a. The selection is based on the time of patient follow-up creation.
b. According to the actual situation of patient follow-up (single choice or multiple choices).
c. Follow-up patients have other information that needs to be remarked, and fill in according to the actual situation.
After filling in the information and confirming that it is correct, click "Confirm".
- Step 4: There are four buttons on the right side of each new follow-up record, as shown in the figure.
-en.png)
a. Set and modify the follow-up date and other information as shown in the figure.
-en.png)
b. To create a CRF form, the system only configures the "phenotype evaluation table" by default. We provide existing templates according to different hospital departments, and can also customize and modify according to user needs. If you need templates or personalized customization, please contact our technical staff.
-en.png)
c. Create a new sample, and associate the auxiliary sample information (blood, DNA, tissue, etc.) with other clinical information of the patient.
-en.png)
d. Create a new gene-test.
-en.png)
Upload follow-up record
Besides to creating new follow-up records, historical files or three-party storage files can also be uploaded to record and save the test results and other documents of patients at each follow-up visit. The files are managed in folders according to the created follow-up date. Customize labels to facilitate subsequent analysis and modeling.
- Step 1: Click to enter the patient's personal information page (Patient → Patient database → click on the patient's name), click the "Show follow-up records" button, the interface will pop up the follow-up record list, as shown in the figure:
-en.png)
Step 2: Click the upload button and the form as shown in the figure will appear.
-en.png)
a.Upload the file according to the follow-up time. If it is a follow-up supplementary file, you can select the follow-up time for the supplementary file to upload.
b.Add tags according to files for easy search (file tags can be selected or customized). For example: Preoperative X-ray photo file can be set with two tags of "Picture" and "Preoperative X-ray"
c.File upload can be folder upload or single upload. After uploading the file, click "Confirm"; if you do not want to upload any files, click "Cancel".
Edit follow-up
- To modify the date and other information of the follow-up information, it is the same as the button 'a' in the fourth step of "New Follow-up" above, as shown in the figure.
2.Modify the information of a single follow-up file, as shown in the figure.
-en.png)
Download follow up
Patient data can be downloaded at any follow-up time.
Warning
This function is only available to project administrators
- Step 1: Click to enter the patient's personal information page (Patient → Patient database → click on the patient's name), click the "Show follow-up records" button, the interface will pop up the follow-up record list, as shown in the figure:
-en.png)
- Step 2: Download files from one of three different ways.
a.Download according to the follow-up time (single-choice or multiple-choice), and all files within the selected date will be downloaded.
b.Download according to the file tag (single or multiple selection), all files corresponding to the selected tag will be downloaded.
c.Click a single file and click the icon in the red box to download.
-en.png)
-en.png)
Delete follow-up
Deletions were made based on follow-up time.
- Step 1: Click to enter the patient's personal information page (Patient → Patient database → click on the patient's name), click the "Show follow-up records" button, the interface will pop up the follow-up record list, as shown in the figure:
.png)
Step 2: Select a date to delete follow-up files (single choice).
-en.png)